
Setup Wizard
Create an AI Assistant in minutes using the guided setup wizard.
The AI Assistant setup wizard walks you through connecting your data, describing your business context, and configuring your assistant — all in a single flow. Once complete, Precog provisions an MCP server, generates a semantic model, and seeds a knowledge base so your AI tools can start answering questions about your data immediately.
Prerequisites
Before you begin:
- You have at least one destination configured in your workspace
- Your workspace has the AI Assistants feature enabled — contact Precog support to get access
Opening the Wizard
- From your workspace, navigate to AI Assistants in the sidebar
- Click Create AI Assistant
The wizard guides you through five steps.
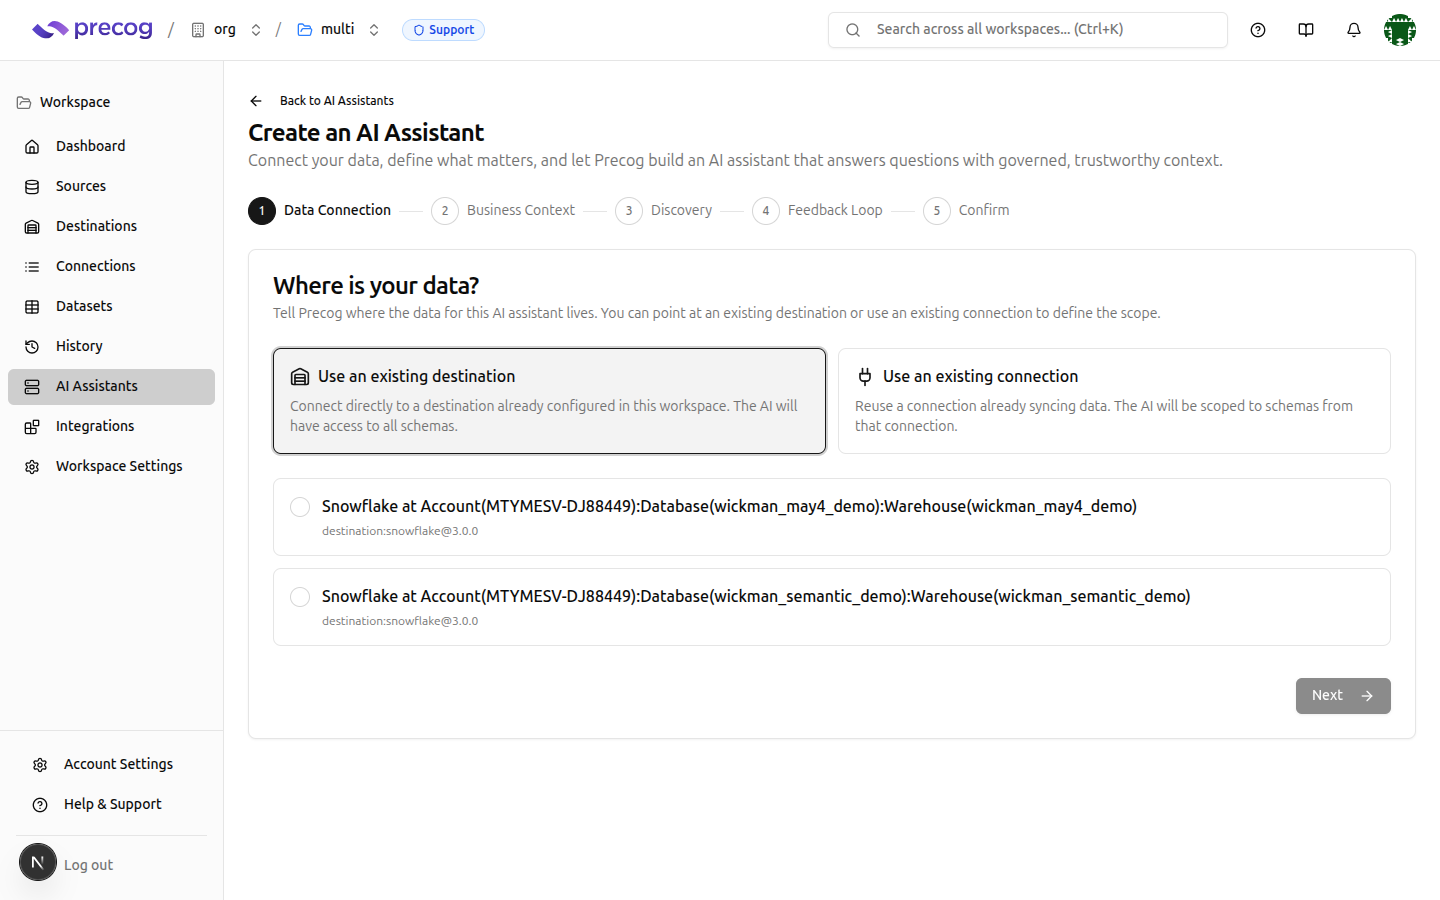
Step 1: Data Connection
Select the data connection your assistant will work with. A connection is a source → destination pipeline.
- Choose an existing connection from the dropdown, or configure a new one
- The assistant will have access to all datasets flowing through this connection
- If your connection includes multiple sources, the assistant can answer questions that span all of them
Step 2: Business Context
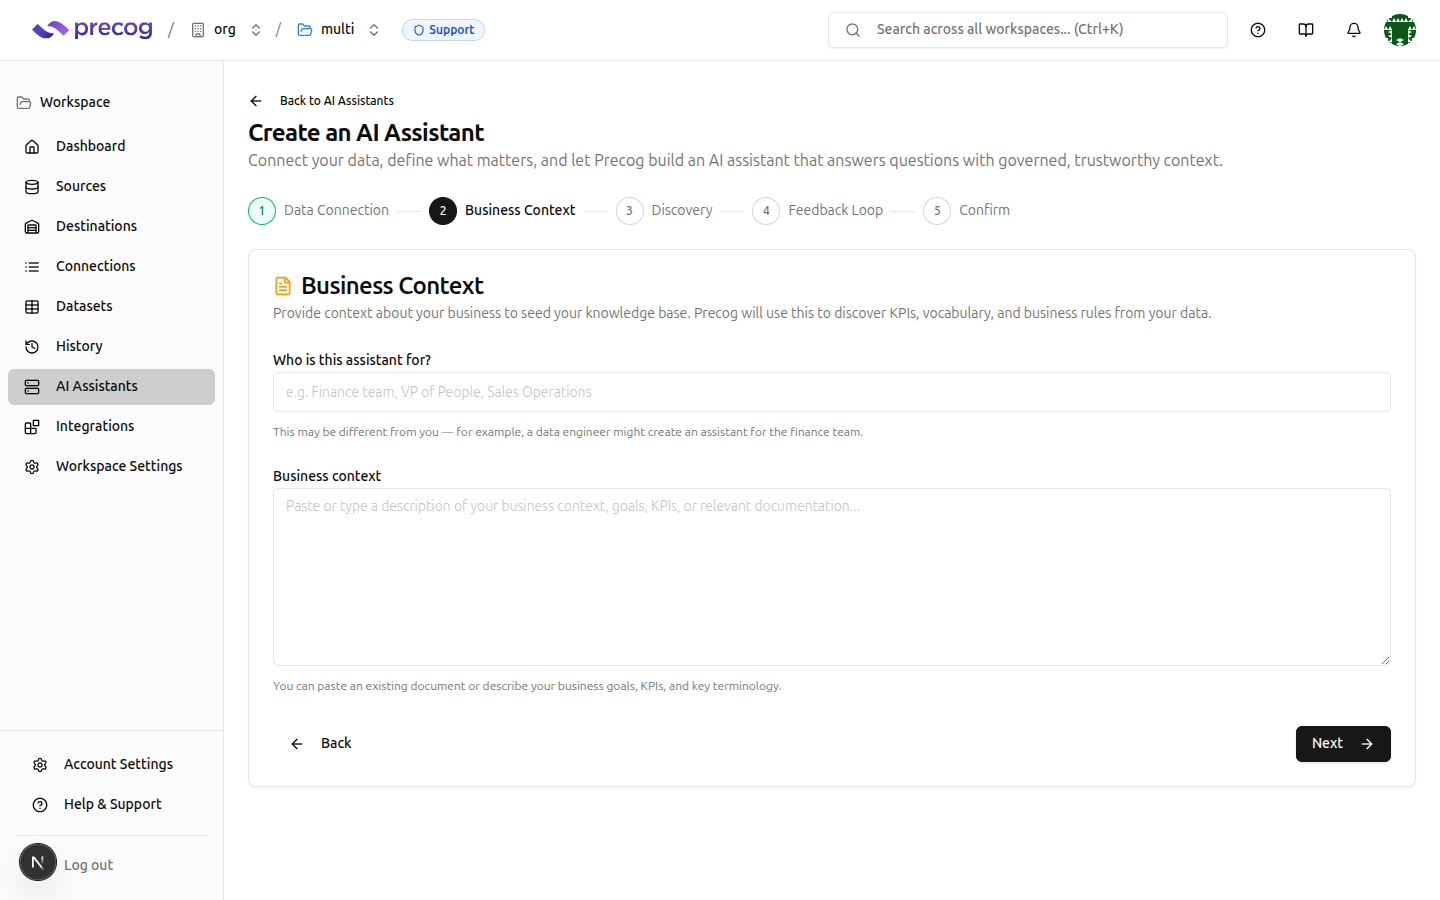
Describe how you plan to use the assistant. This context drives the quality of the generated semantic model and knowledge base.
- Use case description — Describe the business questions you want answered. Be specific: include key metrics, entities, and the types of analysis you need. See Writing Effective Use Case Descriptions for tips.
- Primary user role — Who will be using this assistant (e.g., analyst, executive, operations team)
- Document links (optional) — Add links to internal documentation, glossaries, or data dictionaries that provide additional business context
Step 3: Discovery
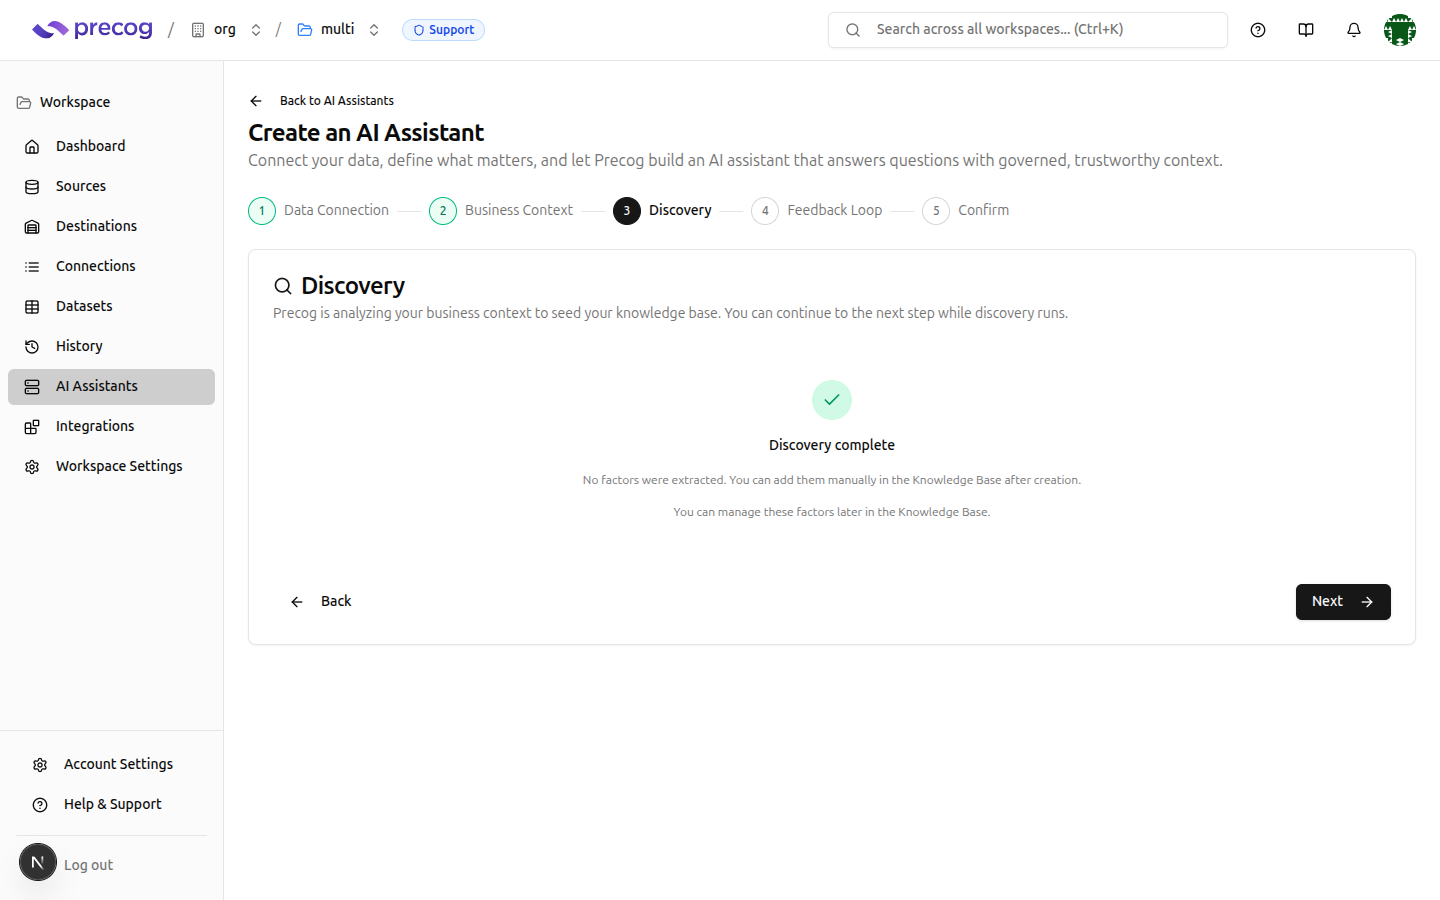
Precog analyzes your connected data sources and extracts business knowledge automatically. This step runs asynchronously — you can continue through the wizard while it works.
During discovery, Precog identifies:
- KPIs — Key performance indicators derived from your data
- Definitions — Business term definitions inferred from column names and data patterns
- Business rules — Relationships and constraints between entities
These extracted insights are called factors and populate your assistant's Knowledge Base. You can review, approve, or decline them after creation.
Step 4: Feedback Loop
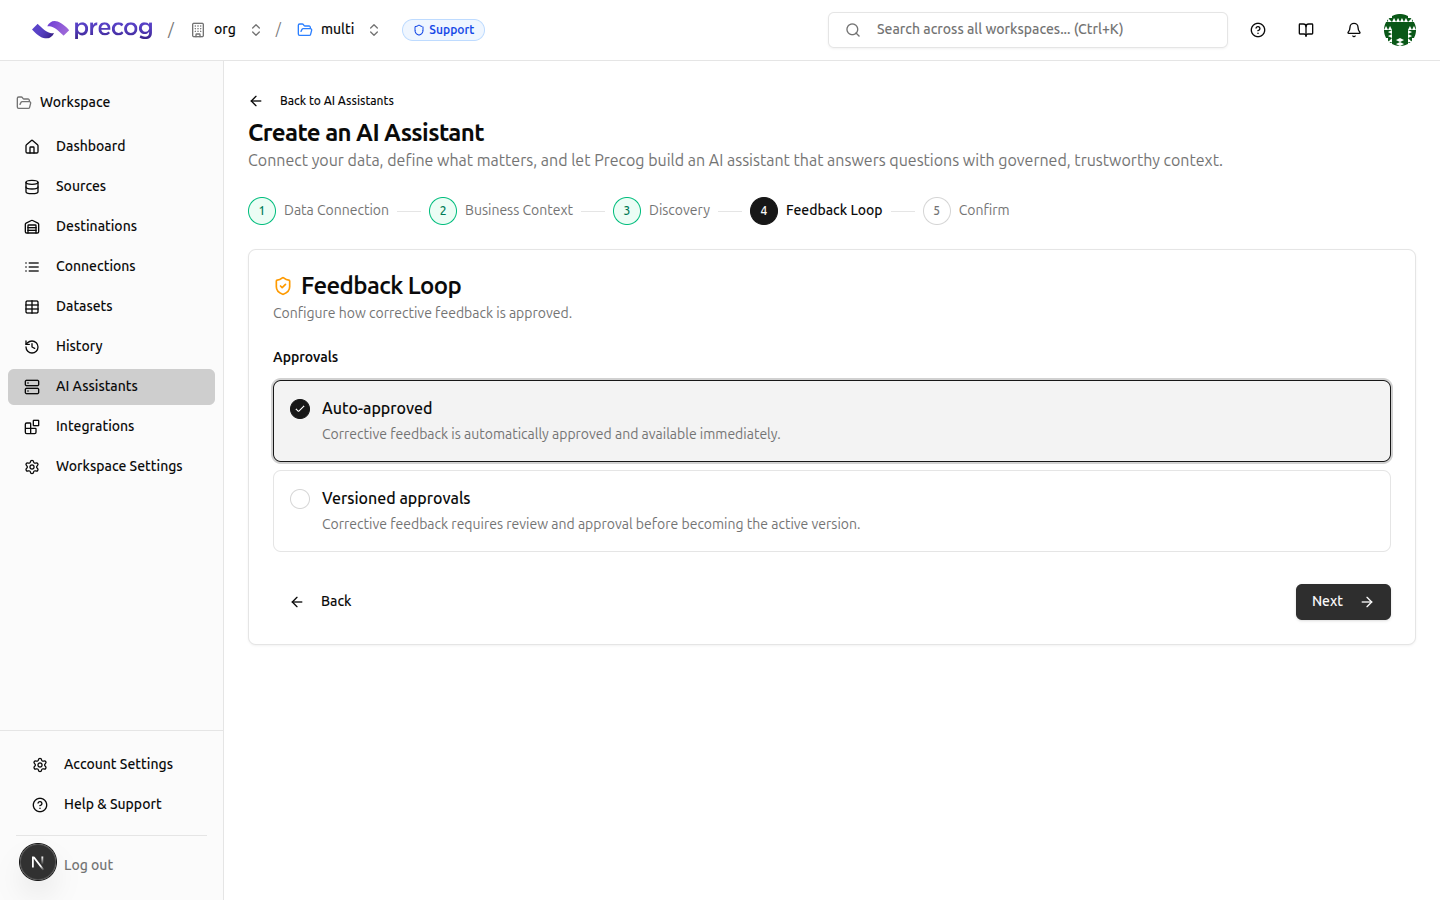
Configure the quality threshold for automatically discovered factors. This determines how confident the extraction must be before a factor is surfaced for review.
- Higher thresholds surface fewer but more precise factors
- Lower thresholds surface more factors, including some that may need correction
You can adjust this setting after creation from the assistant's settings.
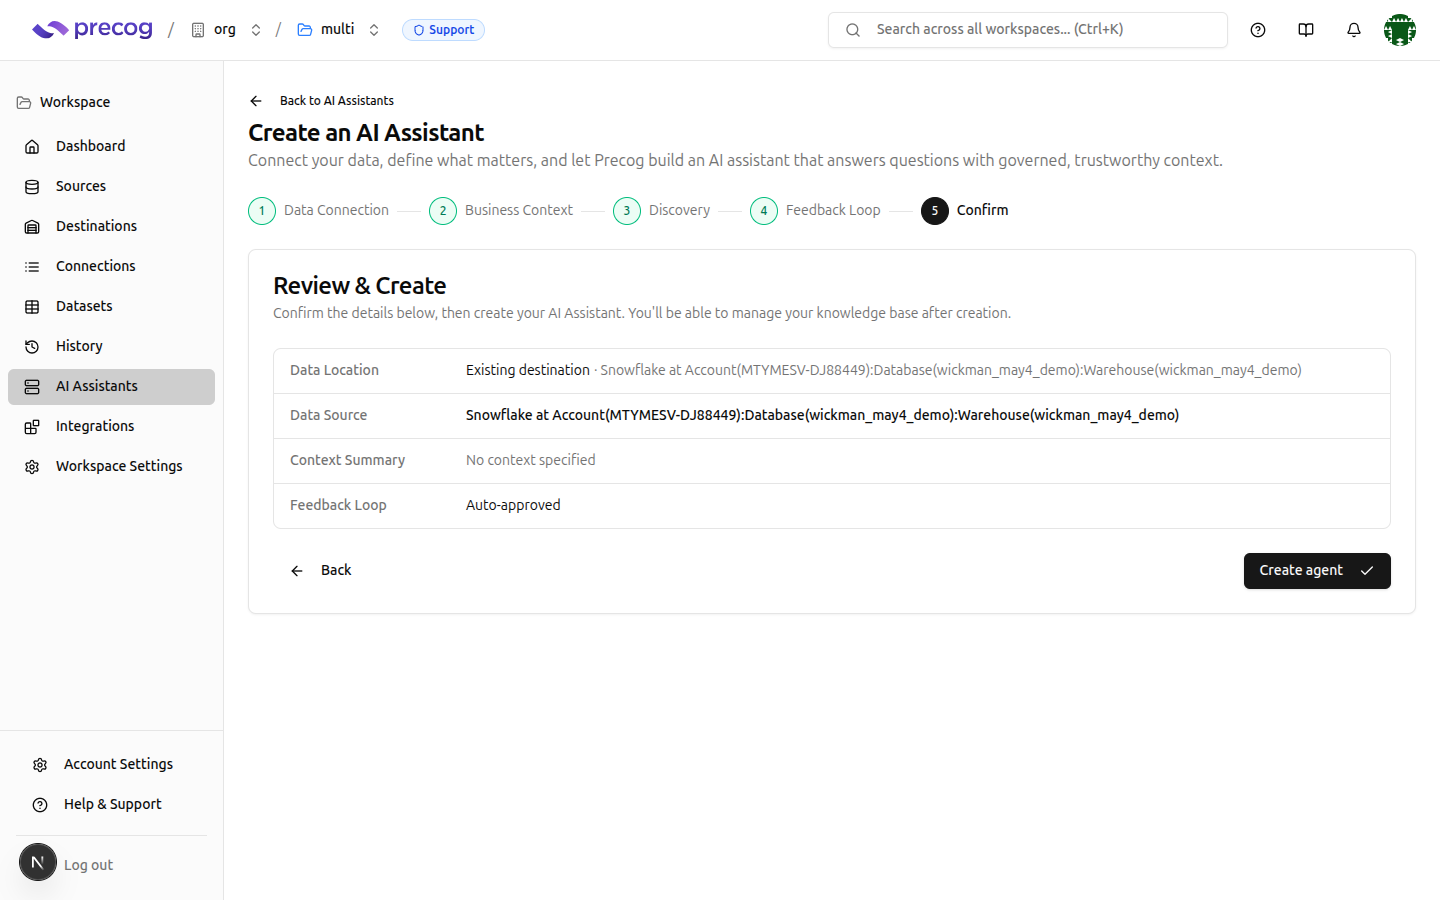
Step 5: Confirm
Review your configuration before creating the assistant:
- Connection details
- Business context summary
- Discovery settings
Click Create to finalize.
What Happens After Creation
Once you create the assistant, Precog automatically:
- Provisions an MCP server — Your assistant gets a unique MCP URL that AI tools use to connect
- Generates a semantic model — Based on your data schemas and business context, Precog creates a model that translates natural language into accurate data queries
- Seeds the knowledge base — Discovered factors (KPIs, definitions, business rules) are added for your review
Next Steps
- Chat Setup — Connect your AI tools using the MCP URL and per-client setup instructions
- Knowledge Base — Review and refine the automatically discovered business knowledge
- Semantic Layer — Explore the generated semantic model and entity relationships